Has your computer been feeling slow lately? If your once-snappy Windows PC has been dragging its feet recently, there are a few potential explanations. It could be anything from too many programs running in the background to an entire hard drive. The good news is that some simple solutions can help speed up your computer’s boot time. With just a few minutes and some basic technical know-how, you can give your old PC a new lease on life.
Make Regular Restarts
Source: Fmsinc
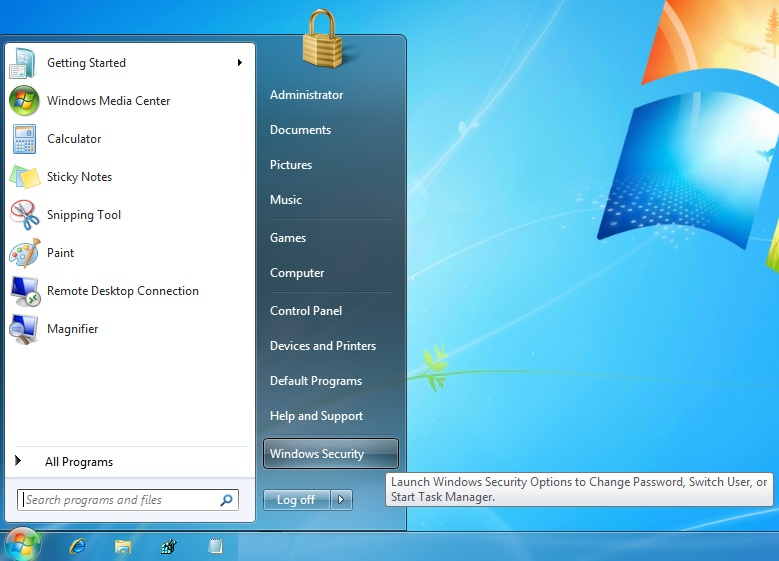
Your computer may grow slower the longer it is left on. Your system may slow down as a result of producing temporary files or different components simply overheating if your hardware is continually in use. Despite the fact that Windows 10 will automatically put your display to sleep, many people leave their laptops on for days or even weeks at a time. Applications continue to run in the background throughout this time, gradually accommodating memory and resulting in significant slowdowns. Turn off your gadget when you’re through using it to prevent this from happening the next time. To achieve this, click the Power button after selecting the Start menu from the taskbar. Select Shut down from here. Use the power button on your computer to restart it after a short while.
Keep Your System Updated
Source: Howtogeek
Maintaining an updated Windows operating system is crucial. Additional upgrades bring improved optimization, new features, and frequently even security patches. From the Settings app, where you can also discover further advanced system settings, you may upgrade Windows 10. Check visit our article titled Upgrade Windows 10 for a more detailed tutorial on how to update Windows 10. In order to maintain the system up to date and update all device drivers, it’s crucial to make sure your OS is constantly running the most recent version.
Disable Unnecessary Startup Apps
Source: Groovypost
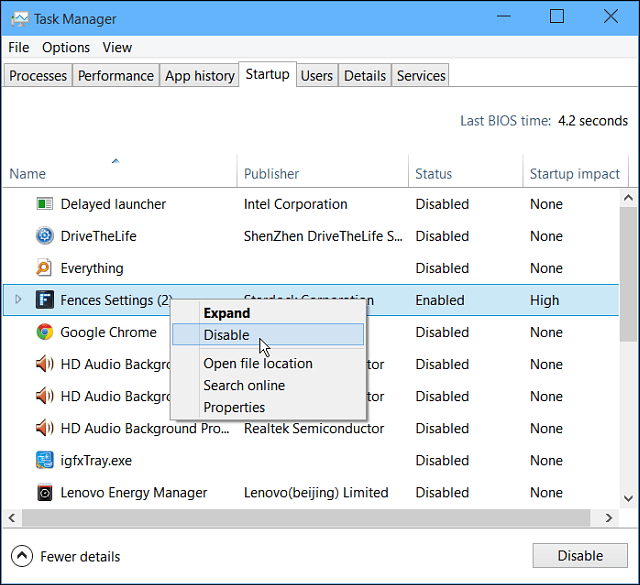
Your system launches a number of applications during startup each time it powers up. Many applications, including antivirus software, use this capability, so you may wish to have it available the instant you log on to your computer. However, because they end up consuming too much system resources, many apps are not required for your smartphone to run when it first turns on. Many software, especially freeware ones, alter your system settings and include pointless startup programs. While a result, your boot time will take longer, and your performance may suffer significantly as these programs continue to run in the background. Here’s how to disable unnecessary starting programs so that your Windows 10 computer runs more quickly.
Open Task Manager using one of the following ways:
Right-click on any space in your taskbar. This will open up a context menu. Here, select Task Manager.
Alternatively, press the Ctrl, Alt, and Esc keys simultaneously on your keyboard.
If your Task Manager launched in the compact view, click on the More details option seen in the bottom left of the window. This will expand the window and show you the necessary taps to access startup applications.
Switch to the Startup tab using the menu at the top of the Task Manager window. Here, you can see all of the applications that start with your computer at launch.
You can check the Start-up impact column to determine which applications have a high impact measurement on your computer’s system performance.
Note: Ensure that the application you’re trying to disable doesn’t have Microsoft Corporation stated in the Publisher column. These applications usually don’t impact your system’s performance and might be required for Windows 10 to run as intended.
Select an application you want to disable, then click on the Disable button in the bottom right of the window. Its status should change to Disabled.
Repeat this process for every app you don’t need at startup, then restart your computer.
Your computer should launch without any impact-heavy or unnecessary apps automatically launching.
This gives you the ability to test your boot time and the performance of your device as well.
Run The Disk Cleanup Tool/Utility
Source: Helpdeskgeek
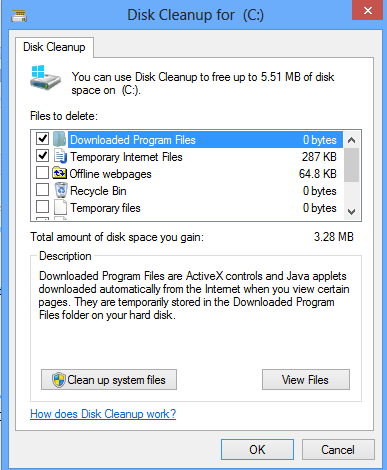
Windows 10 comes with a built-in tool to help you clean your computer’s files, called the Disk Cleanup tool. The disk cleanup is easy to run and may free up a plethora of space on your device by deleting files you never even knew you had and certainly don’t need. Disk cleanup will remove temporary internet files, create more available space on your computer, and improve PC performance.
Here’s how to run the Disk Cleanup on a Windows 10 device:
Use the search field in your taskbar, or press the Windows and S keys on your keyboard to open up the Search feature.
Type “Disk cleanup” and launch the tool from the matching search results.
If prompted, select the drive you want to clear. We recommend you start with the drive Windows 10 is installed on, then repeat these steps for any or all other drives.
Allow some time for the utility to analyze your device, then select what you want to delete from the system. After completing the action, you can also see how much space you will free up on your drive.
Click the OK button to proceed and permanently delete the files you’ve selected.
A reboot is recommended after the disk cleanup process has finished running.
Uninstall Unused Applications
Source: Uiowa
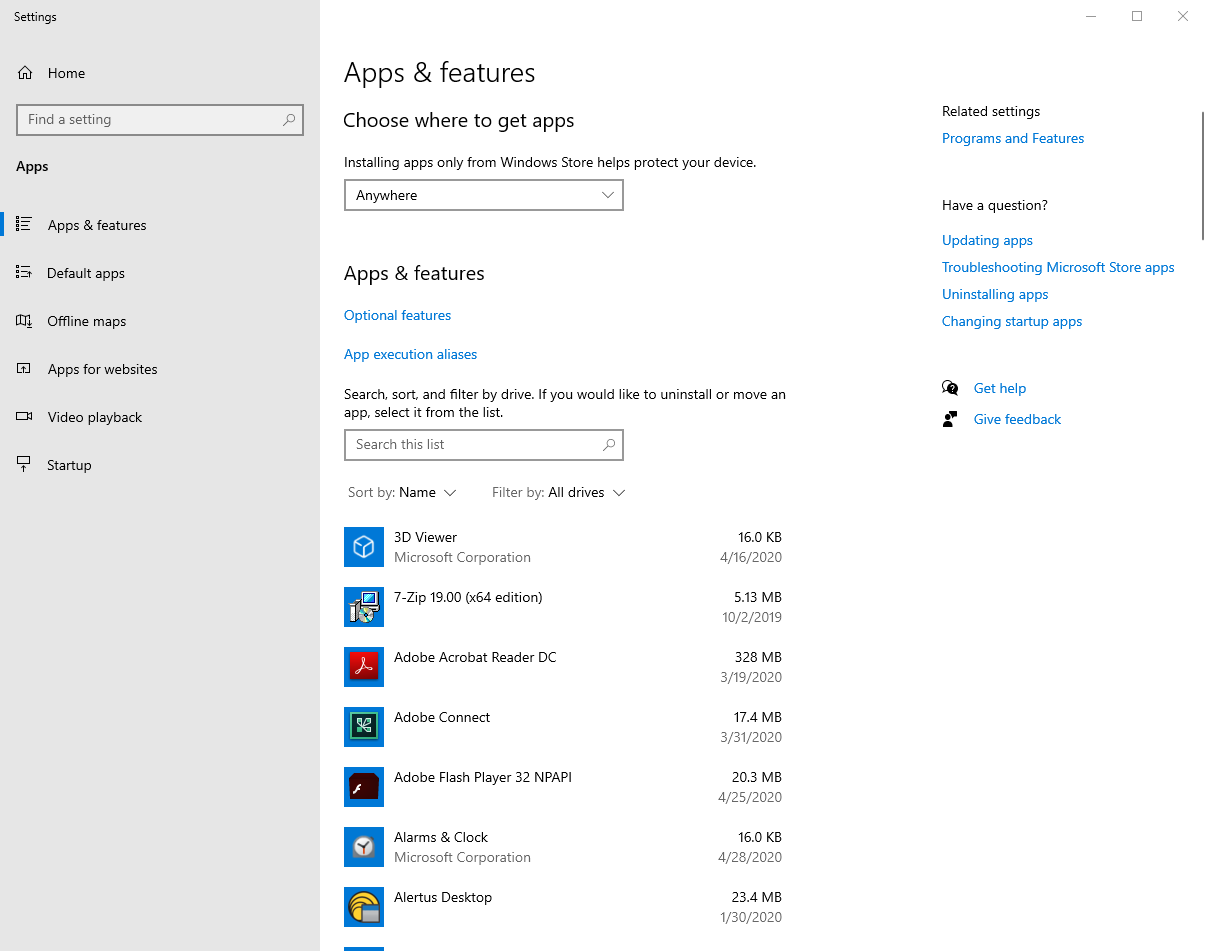
Your computer might include some programs that you no longer require or even know exist. There are several possible causes for this. Some manufacturers include pre-installed software, also known as “bloatware,” when they send their products. Free programs, usually known as freeware programs, can successfully set up hidden programs on your computer. Many computer users download programs with specific intentions but never actually use them. The best thing you can do is go to Settings and remove any outdated software. This should enhance PC performance and speed up Windows. For more information, see our Windows 10 article on how to install and remove programs.
Run Antivirus Scans
Source: Howtogeek
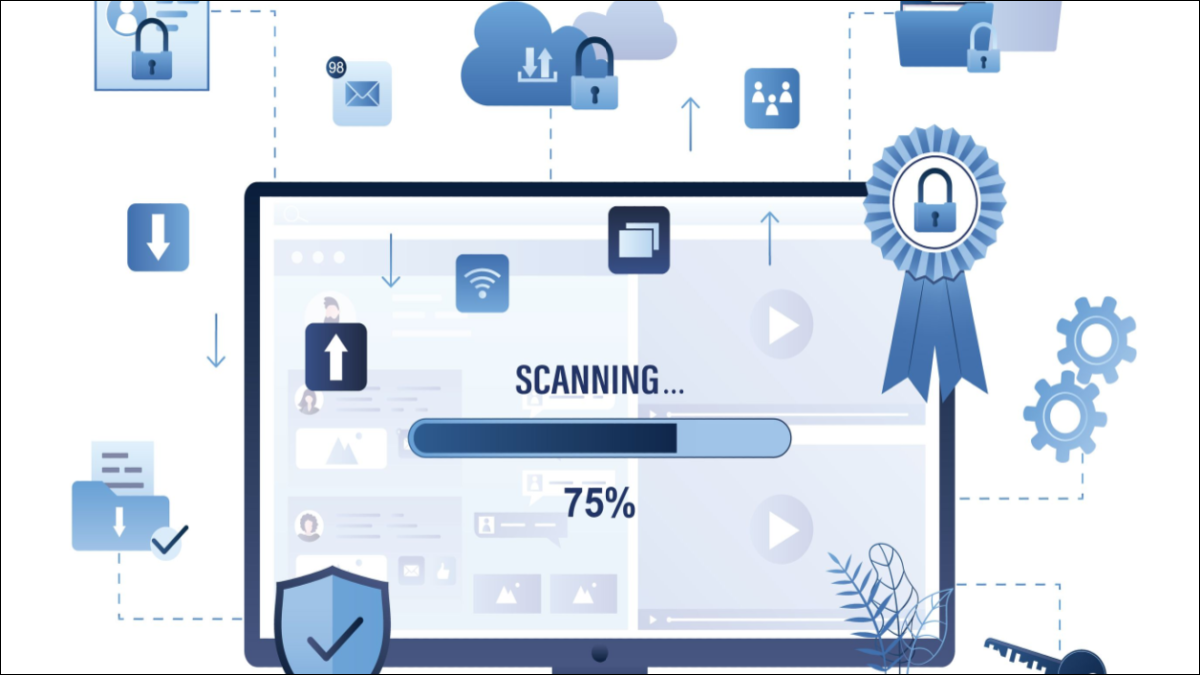
Malicious malware may be the reason of your device’s slowness, especially if you use the internet frequently. Malicious threats can infect your device in a variety of ways if you don’t have enough security. Check out our article on how to set up security in Windows 10 if you want to secure your device properly. To remove existing malware, stop new malware infections from occurring, and improve PC speed, we advise using Norton Security 2020 or Malwarebytes Premium antivirus software.
Enable Windows Fast Startup Mode
Source: Uaudio
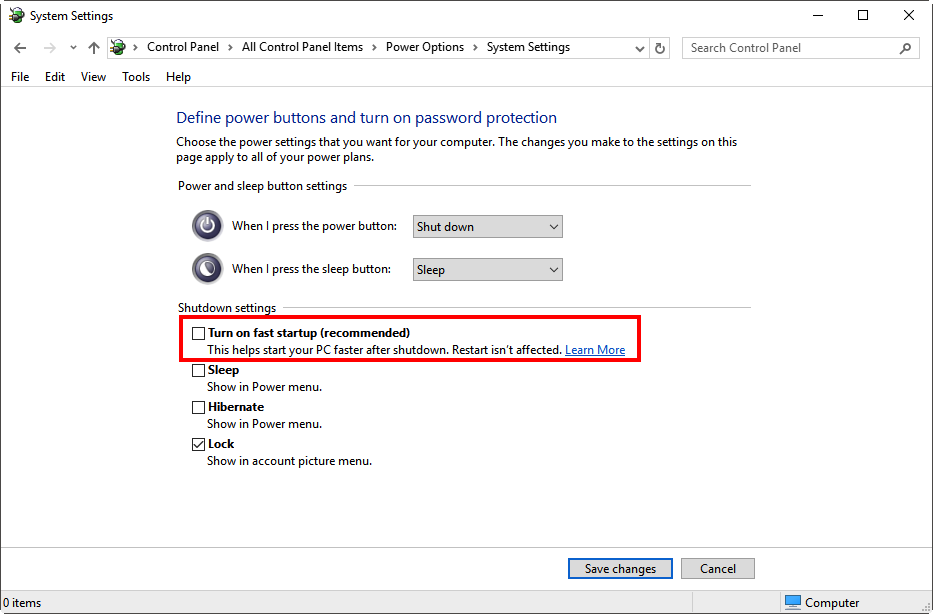
The rapid startup feature in Windows 10 accomplishes exactly what it says it will. Your machine will start up faster if you use the Quick Boot setting in BIOS. Fast startup essentially acts as a middle-ground between shutting down Windows and going into hibernation. The operating system will go into hibernation mode, but it won’t store any open programs like hibernation does. This facilitates a quicker start with a clean condition. The Windows control panel is where you turn on the fast starting mode. How to go to the control panel
Press Windows Key > Type control panel > Hardware and Sound > Power options > System settings
Rebooting is also unaffected. Therefore, rather than shutting down your computer, you might need to restart it if you have trouble installing Windows Update or accessing your BIOS. You can access additional settings from the control panel, such as eliminating specific background programs or all of the ones that make your computer sluggish.
Adjust Your PC’s UEFI/BIOS Settings
Source: Zdnet
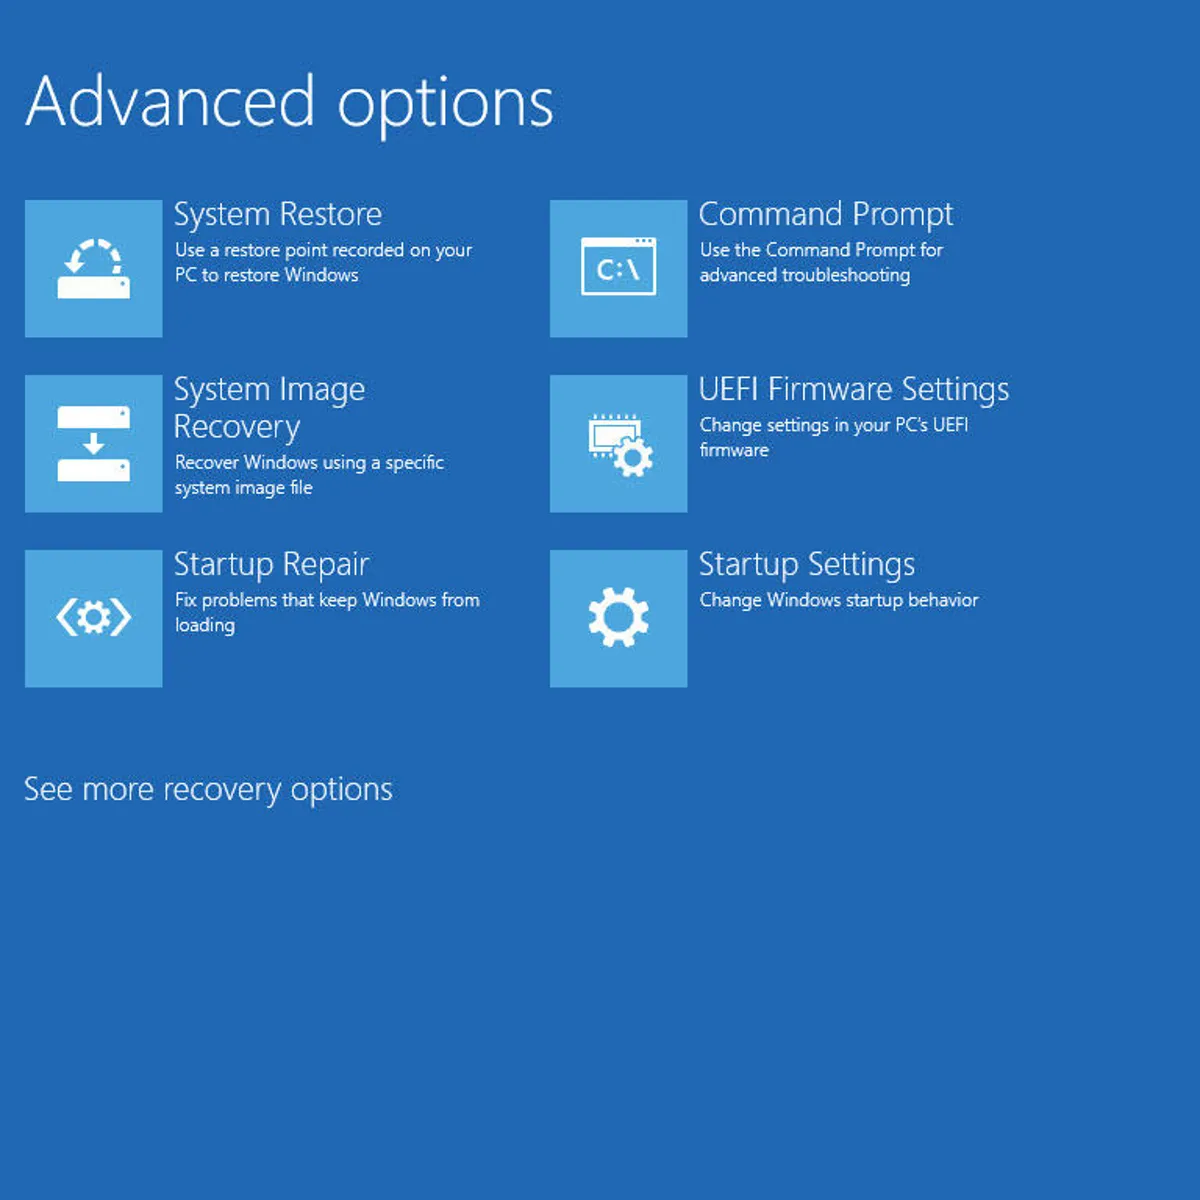
Some computers have a different Fast Boot setting in the BIOS. But, unlike Windows’ Fast Startup, this Fast Boot setting (name can be different depending on your motherboard) bypasses some of your PC’s initial test runs when it first starts up. Note: If you’re overclocking or otherwise regularly accessing BIOS, you might want to leave this off. But most people will benefit from turning it on if it isn’t already.
To turn it on:
Reboot your computer and press Delete to enter the BIOS setup (or another key, if prompted).
Search for any fast boot settings in the menu. Some folks also recommend changing your Boot Order Priority (making sure your hard disk is at the top of the list, rather than a DVD drive or network boot).
Every computer has a different motherboard, so poke around your UEFI/BIOS settings to see if there are any features you can enable or disable to speed up the boot process.
You can use your motherboard or PC manual to help show you where this is.
Disable or Cut Down on Startup apps and Programs
Source: Techsupportall
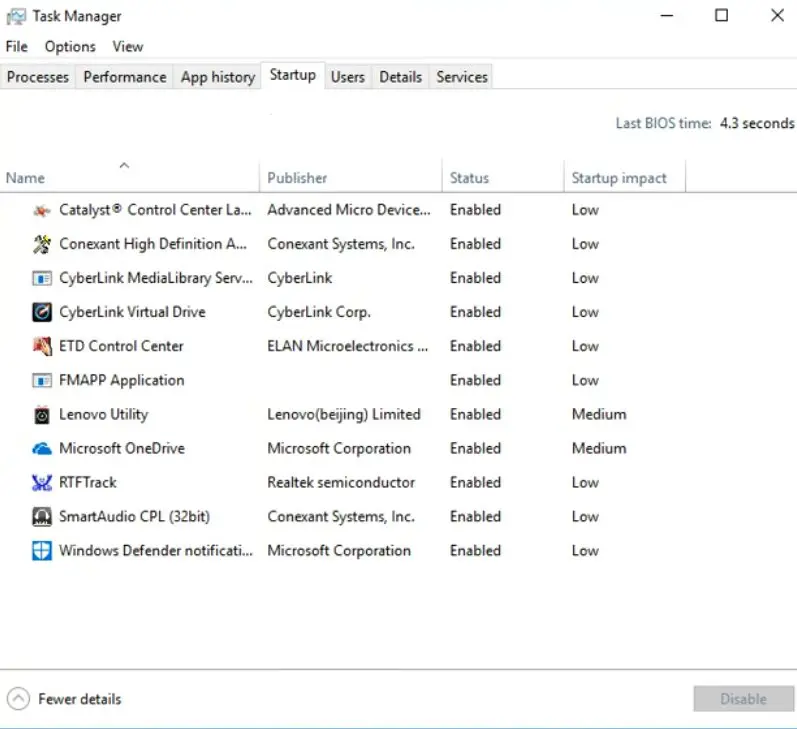
It will take longer for your computer to boot up and become functional the more apps and programs you have set to run when it turns on. A longer PC boot time is a result of running more software during startup. Not all of the programs may need to launch at boot, but the majority may.
To disable a program from Task Manager:
Open Windows Settings > Apps > Startup
Select Task Manager apps
Disable or turn off anything you don’t want to open at startup.
Set Window Updates to Run During Downtime
Source: Groovypost
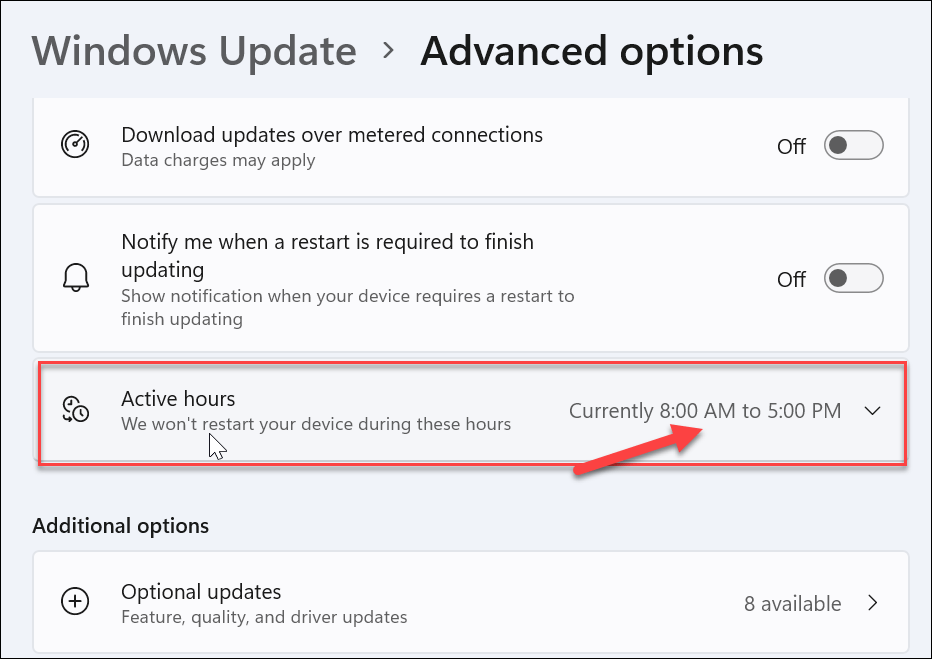
When Windows updates occur, restarting and rebooting requires memory, time, and other system resources to install those updates. This is why it’s crucial to let Windows run on your computer when it’s not in use. This is distinct from enabling automatic updates on your computer.
To do so without interrupting your work:
Go to Settings > Update & Security > Windows Update
Click the Change Active Hours button.
Send Windows to the time you tend to use the device most—say, from 9 to 5
This is when the PC will try to run automatic updates and reboot when the system is idle.


