
Harnessing the power of the sun through solar panels is an excellent way to reduce your carbon footprint, lessen electricity costs, and contribute to a more sustainable future. While commercial solar panels can sometimes be costly, creating your own at home is not only possible but also an educational and rewarding endeavor. Here’s a simple guide on how to create your own solar panels at home.
Materials Needed:
Before beginning your project, make sure you have the following materials:
- Solar cells
- Soldering iron and solder
- Tabbing wire
- Bus wire
- Encapsulant or EVA film
- Plywood
- Plexiglass or tempered glass
- Silicone caulk
- Paint
- Multimeter
- J-box or junction box
- Diode
Step 1: Design Your Panel
First, you need to determine how many solar cells you’ll need. This depends on the amount of electricity you want to generate and the surface area available for the solar panel. Remember that the more solar cells you have, the higher the output.
Step 2: Solder the Solar Cells
Now it’s time to connect your solar cells. Start by laying out the solar cells in the arrangement you want for your panel. Using your soldering iron and tabbing wire, connect the front of one cell to the back of the next. Continue this process until all the cells in a row are connected.
Step 3: Connect the Rows
Once you’ve connected all the cells in a row, connect each row using bus wire. This bus wire will also serve as the connection to the junction box.
Step 4: Test the Panel
Before proceeding further, it’s a good idea to test your panel. Use a multimeter to measure the voltage output of the panel to ensure it’s functioning correctly.
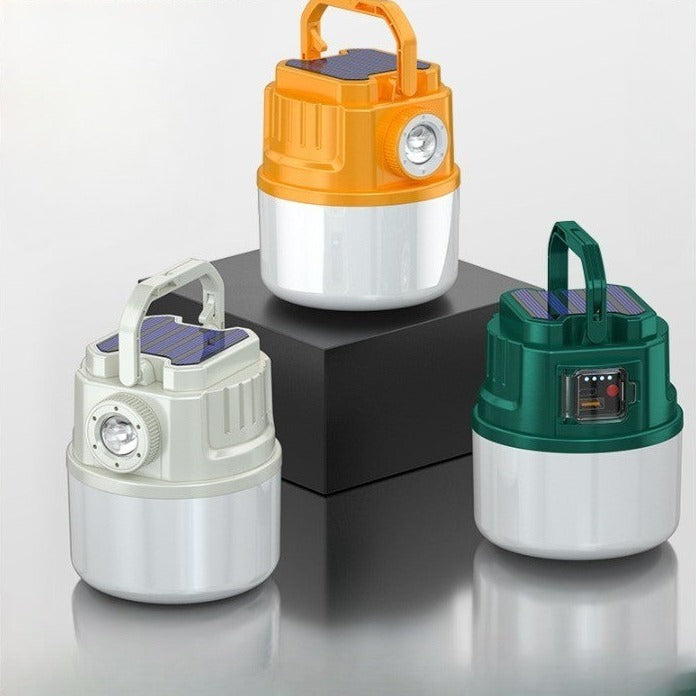
The Solar LED Outdoor USB Rechargeable Explorer Camping Light is the perfect light for your next camping trip. With a built-in solar panel, this light can be charged by the sun, or via USB. It is also super lightweight and compact, making it easy to take with you wherever you go. The LED light is bright and long-lasting, making it perfect for any situation.
Step 5: Build the Panel Box
Cut your plywood to the size of your solar panel layout. Remember to leave room for the junction box. Paint the plywood with UV-protective paint to help it withstand weather conditions.
Step 6: Attach the Solar Cells to the Panel Box
Apply the EVA film or encapsulant to the plywood, then carefully lay your connected solar cells onto the panel. The encapsulant will protect the cells and hold them in place.
Step 7: Add the Protective Covering
Cover the solar cells with plexiglass or tempered glass to protect them from damage. Attach the glass to the plywood using silicone caulk to create a seal and prevent moisture from entering.
Step 8: Install the Junction Box
Install the junction box on the back of the panel, and connect the bus wires from the solar cells to the box. This is where you’ll draw power from the panel.
Step 9: Install a Blocking Diode
Install a blocking diode in the junction box. This prevents the flow of electricity back into the panel, which can happen when the panel isn’t exposed to sunlight.
Step 10: Final Test
Conduct a final test of the panel with your multimeter. If it’s working correctly, you’re ready to install it and start generating solar power!


